It has been far too long since my last post, but a crafty project I was working on for my parents' 50th wedding anniversary took over my life for quite a while. Fifty years of photos (5,000 scanned slides plus a couple hundred recent digital photos narrowed down to a MERE 800+ photos), 2 hours of 8-mm video from the 1950s -60s (painstakingly digitized and edited frame-by-frame down to about 30 minutes), a couple of hours of old family gospel music from when I was a child, and some very old audio of my grandfather reciting a Bible verse, singing a lullaby, and reciting the Gettysburg Address were all brought together in a near-2 hour DVD that I presented to my parents when I visited them in November to help celebrate their BIG accomplishment.
It was lovely and my dad was a weeping mess. Mission accomplished! :)
My point is that I will soon be back to the blog, and I have high hopes of creating wonderful and crafty things. Be patient with me as I try to take care of my son, clean my house, prepare for Christmas, run my ebay store, and try not to go completely insane along the way.
I pray the year 2011 holds in store wonderful things for you and your loved ones. Have a blessed holiday season, whether you celebrate Hanukkah, Christmas, or any other sacred day, may the Lord be with you and keep you safe. Happy New Year, too!!!
Your friend at www.woollymoose.com,
Dawn
Tuesday, November 30, 2010


Sunday, October 10, 2010
Cricut Imagine - Old & New Cartridges Working in Harmony - But Do They Cut Fabric Well??
I am into fabrics, and although I have a beautiful Accuquilt Studio die cutter that I LOVE, it lacked the flexibility for cutting a variety of applique designs that I desperately wanted to make. So, I went on my journey for a new addition to my "family" of cutters and discovered the all new Cricut Imagine. Wow, is this thing cool!
I've only scratched the surface on what it can do, but here are my first cuts:


I've only scratched the surface on what it can do, but here are my first cuts:

Simple Cardstock Pumpkins

Pumpkins decorated with adhesive backed foam shapes. Can you guess which two I made and which two my 3 year old son made?

Okay, so that wasn't much of a challenge. The basic pumpkin shape on cardstock was no big deal.
Can this thing cut fabric?? Let's give it a whirl.
The first attempt to cut fabric was using this fun striped hearts on pink background premium quilting fabric. It was backed with Shades Soft Fuse fusible webbing, which is really nice for use in quilting appliques.
How did it work? TERRIBLY! Ugh, what a disappointment. I tried a couple of times (used more tape on the second try), and unfortunately I forgot to take photos of the mangled messes of fabric that resulted. Let's just say that I wouldn't recommend using it.

My second attempt was using another premium quilting fabric that was backed with Steam-a-Seam Lite, another fusible web backing used for quilting applique projects.
How did it work? I'll let the photos speak for themselves:


I had chosen a basic cupcake shape and added just a splash of color (you can see the slight contrast between the cupcake and the original fabric in the last photo above). I can't believe how beautifully this cut out the cupcake AND printed on the fabric!
I was very impressed. So, I cut something else.
Please note that I used clear packaging tape to secure the fabrics to my cutting mat. Although they held the fabric in place, I do NOT recommend them. They were difficult to remove. I have read that blue painter's tape works well, but I couldn't find mine (next time...).
Here is my heart applique next to my cupcake (beautiful!):

So what about all these fancy mix and match functions? For the shapes below I used an OLD Cricut Cartridge (Elmo's Party) and a NEW Cricut Imagine Cartridge (Best Friends). The letters and musical note shapes came from the old cartridge and the background colors of each came from the new cartridge. They were printed on plain white card stock.
I LOVE the way they turned out! I can't wait until I have time to play some more and come up with some really cool stuff. More to come on that in a new post.


Friday, September 24, 2010
Home Makeover - er, Home STUDIO Makeover - Woolly Moose Edition!
Tinkering with my power tools last week inspired me to go for the gusto in terms of my studio. I decided to go beyond a single ribbon organizer - a project which I scrapped (pardon the pun) - and focus my attention on remodeling my entire studio! Wow, was this fun AND down right exhausting!!
These first photos show the most changed corner of the room. I removed my computer desk and built a sewing table/bookshelf to go in this corner. I also added about 26 square feet of pegboard, onto which I piled a couple hundred rolls of ribbon, serging threads, scissors, and other sewing notions. I LOVE my new work space!!! :)

AFTER:


More AFTER shots of the entire fabric/sewing studio:


These first photos show the most changed corner of the room. I removed my computer desk and built a sewing table/bookshelf to go in this corner. I also added about 26 square feet of pegboard, onto which I piled a couple hundred rolls of ribbon, serging threads, scissors, and other sewing notions. I LOVE my new work space!!! :)
BEFORE:

AFTER:


Photos of my studio transformation:

Step 1: Remove bookshelves against wall.

Step 2: Add two 2' x 4' pegboards.

I used two 1/2" x 2" pieces of pine running horizontally across
the top of each board and a third piece at the middle - where the
2 pegboards met - to secure the pegboards to the wall.


From the side, you can see the edge of the 3 pieces of pine.

Not exactly the first thing I would have chosen to place on my
new pegboard, but it worked for the moment. :)

A new line of sewing notions?

My little helper couldn't wait to add his tools to mommy's new pegboard!!
Reach for the sky, Little Bear, and hang onto your Huggies!

Let's make some shelves, Mommy!! I can measure this for you...
Note the pocket hole jig referenced in my ribbon holder post.
It came in very handy for this project, too!!
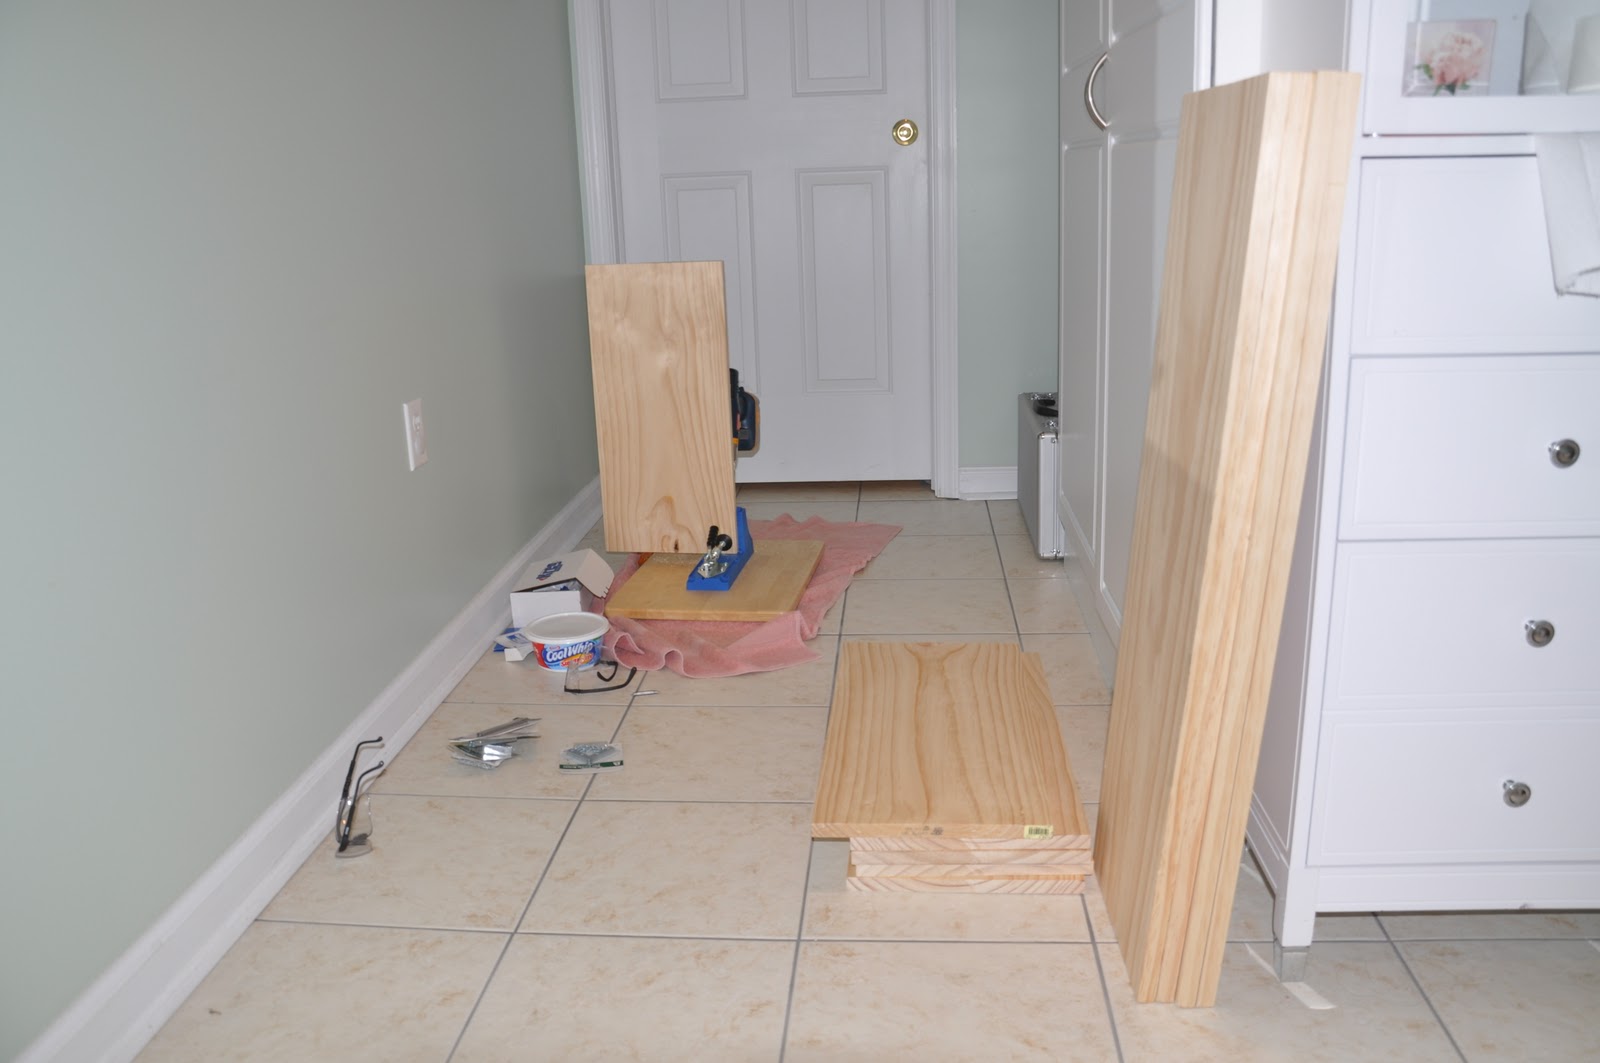
It was getting late and I didn't want to disturb the neighbors,
so I assembled the pieces that I had cut earlier in the day (with my
Ryobi compound miter saw) in my laundry room area.
A little unconventional, but it worked okay. I just used an
old towel to protect the floor and the wood as I worked each piece.

First shelf almost done - let's make sure it's square!

Two shelves and a 2' x 4' - 3/4" pine board top
- with a 2' x 4' - 1/4" acrylic protector on top -
and I'm in business with my new sewing desk!
Now, where's that Babylock Evolve? Oh, there it is...
Subscribe to:
Posts (Atom)