Friday, September 24, 2010

Home Makeover - er, Home STUDIO Makeover - Woolly Moose Edition!

Tinkering with my power tools last week inspired me to go for the gusto in terms of my studio.  I decided to go beyond a single ribbon organizer - a project which I scrapped (pardon the pun) - and focus my attention on remodeling my entire studio!  Wow, was this fun AND down right exhausting!! 

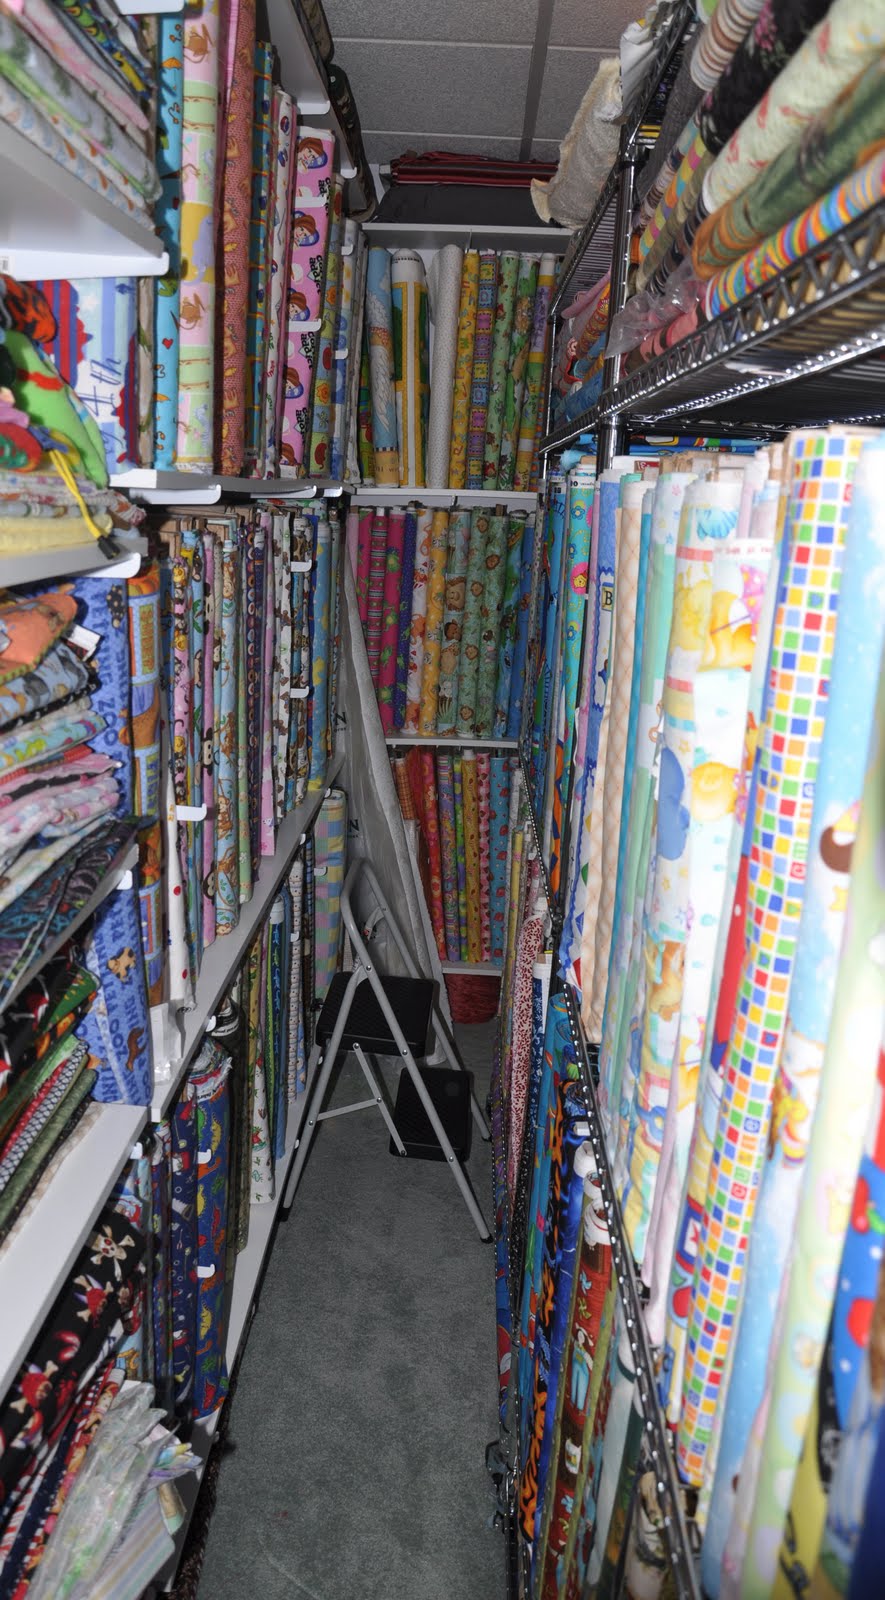
These first photos show the most changed corner of the room.  I removed my computer desk and built a sewing table/bookshelf to go in this corner.  I also added about 26 square feet of pegboard, onto which I piled a couple hundred rolls of ribbon, serging threads, scissors, and other sewing notions.  I LOVE my new work space!!!  :)


BEFORE:

AFTER:


More AFTER shots of the entire fabric/sewing studio:


Photos of my studio transformation:


Step 1:  Remove bookshelves against wall.


Step 2:  Add two 2' x 4' pegboards.


I used two 1/2" x 2" pieces of pine running horizontally across
the top of each board and a third piece at the middle - where the
2 pegboards met - to secure the pegboards to the wall.


From the side, you can see the edge of the 3 pieces of pine.


Not exactly the first thing I would have chosen to place on my
new pegboard, but it worked for the moment.  :)


A new line of sewing notions?


My little helper couldn't wait to add his tools to mommy's new pegboard!! 
Reach for the sky, Little Bear, and hang onto your Huggies!

Let's make some shelves, Mommy!!  I can measure this for you...
Note the pocket hole jig referenced in my ribbon holder post. 
It came in very handy for this project, too!!


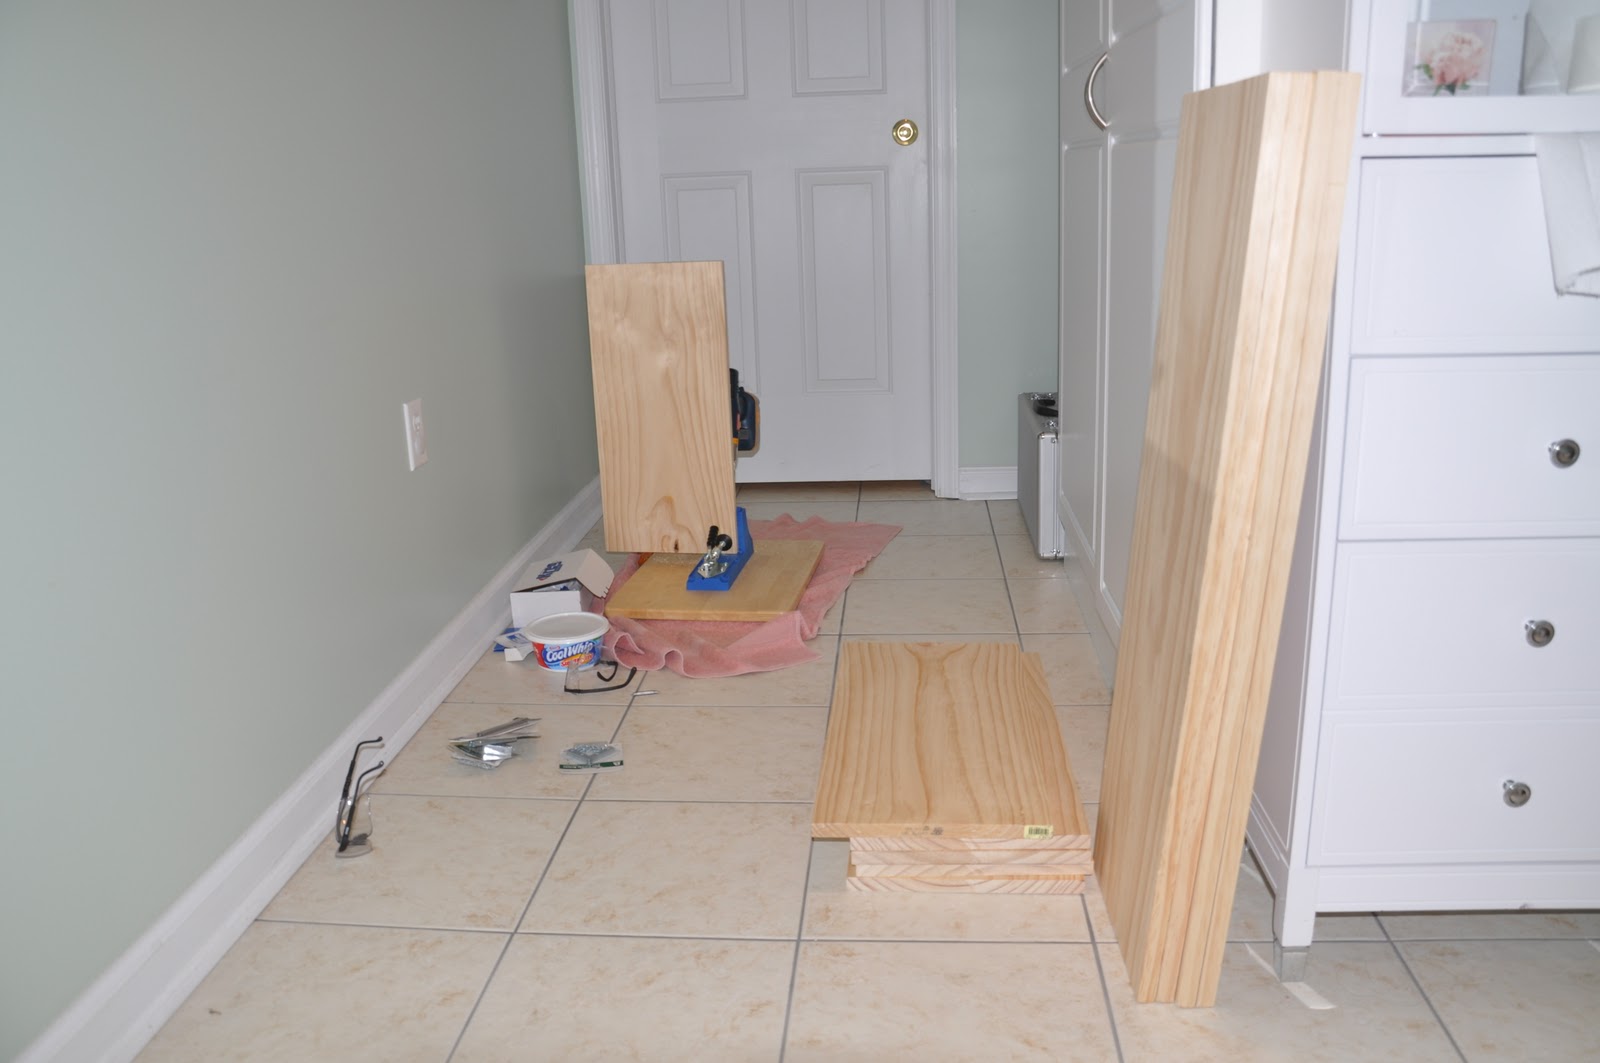
It was getting late and I didn't want to disturb the neighbors,
so I assembled the pieces that I had cut earlier in the day (with my
Ryobi compound miter saw) in my laundry room area.  
A little unconventional, but it worked okay.  I just used an 
old towel to protect the floor and the wood as I worked each piece.  


First shelf almost done - let's make sure it's square!


Two shelves and a 2' x 4'  - 3/4" pine board top
- with a 2' x 4'  - 1/4" acrylic protector on top -
and I'm in business with my new sewing desk! 
Now, where's that Babylock Evolve?  Oh, there it is...

Wednesday, September 15, 2010

DIY Ribbon Organizer - Part I

Yesterday I was inspired to put on my thinking cap, pull out my power tools, and throw together a wooden ribbon organizer / holder / dispenser (a la Clip It Up).  It's not finished yet, so I will update with Part II later.

Here's how it began:

Step 1) Concept Drawing - Sketched drawing of Clip It Up Ribbon Holder by Simply Renee (very nice but also pretty pricey!).

Hey, be nice!  I never claimed to be an artist.  LOL

Here's the "real deal" if you want a closer look at what this neat product line is about:


I also like Simply Renee's rotating trees with clips like this one:


I am already formulating plans for a DIY version of that one, too!  More to come on that later.

Back to my ribbon holder...

I used some premium grade pine wood scraps that I had left over from the construction of my son's train table, which I made for his 3rd birthday.  That was fun! :)

I also got to use a Kreg Jig Kit, which I bought quite a long time ago but have not had a chance to ever use until now.  It worked great once I took the time to read the directions!  In case you have no idea what a jig kit is, take a look below.  This is the exact kit I own


I don't have a work bench, so I screwed the jig pocket hole system into the top of a wooden TV tray that had the legs broken off (I knew I saved that top for a reason!).  By the way, I bought these TV trays from Target just a few years ago and I do NOT recommend them for obvious reasons. 


I'm glad I didn't strip the bottom of its parts, as they were perfect for lifting it off the floor and stabilizing it as I drilled into my wooden pieces.


Okay, so I found some 1" x 5" wood (which is actually 3/4" x 4 1/2"  for those of you who don't routinely work with wood - the lumber manufacturers downsized from the original pieces that were a true 1" x 5", but the nomenclature remained the same!).  I had a 14" piece that I cut in half with my 41st birthday present - a BEAUTIFUL 10" Ryobi Compound Miter Saw.  (I love tools, can you tell?) 


Here's the model I own (I bought mine from Home Depot):


Next, I cut a 72" piece of 1" x 2" (3/4" x 1 1/2") in half.  I made my first attempt with the Kreg jig kit and it made a pretty good hole, but I didn't have it set to the right depth.  Oopsie!  So, I cut my pieces down to roughly 34 inches.  Here are pics of how this thing works and my initial results.  One simply clamps a piece of wood to the jig and uses the drill bit that came with the kit in a standard drill (I used my husband's Ryobi cordless - we like that brand).  The drill has a special clamp on it that is used to stop it at the appropriate depth (it's sort of a collar that screws onto the bit itself - very simple to adjust).  When the collar reaches the jig, one can't drill any more.  How simple is that?


I didn't take pics, but after my adjustments the hole was much closer to the bottom edge of the wood - just right! 

Next, I found a scrap piece of 1" x 3" (3/4" x 2 1/2") that I also cut to 34 inches in length.  On this piece I added 2 holes on each end since it was too wide to secure with a single screw.  

You can see in the photo below where I placed the boards to connect the two 7" pieces to make one long unit.  I used the square head screws that came with my jig kit because they also included a very long, thin drill bit that was designed for use in pocket holes.  (Sorry, no pics of that.)  The screws went into the side pieces VERY easily and no predrilling of holes was required (thank goodness because it's a pain to get them properly aligned).


I tried to space the wood slats so that I could accommodate a variety of ribbon roll sizes.  I have some rolls that are HUGE (maybe 10" in diameter) and others that are quite small (maybe 3" in diameter).  I think this will work for both. 

So, here's what it looks like right now.  I haven't rounded any corners or sanded yet, but the premium grade lumber left very few splinters - a MUST for using with ribbons!


My DIY Ribbon Holder / Organizer / Dispenser (Unfinished)

Here's what I plan to do next - add a couple of 3/8" dowels.  The first dowel will go across the top front for dispensing ribbon and for making sure the ribbon rolls don't roll out while pulling a length of ribbon for a project.


The second dowel will be inserted underneath the front slat and I plan to hang some Clip It Up clips on it.  These can be used for hanging small pieces of ribbons or baggies of other small crafty items.  I'm also going to get the clip grips, which are VERY IMPORTANT if you don't want grip HOLES in delicate ribbons or fabrics!!


I'm mulling over ideas for finishing the wood, although I'm tempted to leave it plain.  We'll see.  I'll update with more pics once I've completed my project!

Tuesday, September 14, 2010

Fabric Studio

I took some new photos of the fabric studio this evening, as I have rearranged it a bit since the previous photo was taken.  Once I tidy it up, I'll try taking a wide angle pic of as much of the whole thing as I can (thank goodness for french doors).  :)  By the way, the last shot is of my new Reliable squared off ironing board that I ordered from Amazon.com.  I don't know how I ever lived without this thing!!


This IS http://www.woollymoose.com/ :


In case you're interested in the ironing table, I've included the Amazon link above.  This thing is HUGE and I am now able to unfold the full 44 inch width of a fabric and press it in its entirety (the width, that is) without having to contend with that maddening pointy tip!  Hooray!!

First Topic - ORGANIZATION

My husband will likely laugh when he reads this, but I really do strive to be very organized.  Although I am constantly stymied by a ridiculous volume of stuff and the lack of a working storage solution for said belongings, I have somehow managed to find a GREAT system for organizing my fabric bolts - and there are a TON of them (maybe around 2,000??)!  Haven't lost track of a single fabric bolt yet.  ;-)

Here's a snapshot of just a small portion of my fabric studio on a random day in June.  The bursts of light are both from light bulbs, as I have blocked all natural light from entering my studio (can't let the fabric fade, you know?).

 
So, the fabric situation is pretty well under control, but EVERYTHING ELSE is taking over our home!  Ack!!

I stumbled upon the most incredible looking storage system/work table for crafters (scrapbookers specifically, but very adaptable to my needs)!  Check this out - it's called The Original Scrap Box.  Their product line features scrapbooking storage organizing armoires that convert into craft tables


The Workbox: Vanilla Beadboard Craft Storage Furniture

From: The Original Scrapbox


The Original Scrap Box even has a work desk with a clear top so you can see what is inside the drawers directly below.  This is the model I would like to buy - it's called The EZ View Craft Desk and it is considered storage furniture and a desk.  I'd LOVE to sew on this baby!!  I can imagine now having all my notions neatly stored in plain sight!  I'm a very VISUAL person, so I need to see my stuff or I forget it exists.  Even the storage bins that come with these units are designed so you can easily see what is inside. 


The EZ View: White Craft Desk Craft Storage Furniture

From: The Original Scrapbox


And let's not forget about the cute ribbon holder.  I've got tons or ribbons, too, just waiting to find a new home.


Ribbon Box Craft Organizer Storage Solution

From: The Original Scrapbox


Very cool stuff.  Let me know what you think.  Does anyone currently have any of these products?  I'd love to hear from you if you do (or even if you WANT them, too!). 


I will go to sleep tonight dreaming of these units... (is that sad?)